Quick Start
Get started with Lankir in 5 minutes.
Launching the Application
GUI Mode
Run Lankir without arguments to launch the graphical interface:
lankir
Or double-click the AppImage/desktop shortcut.
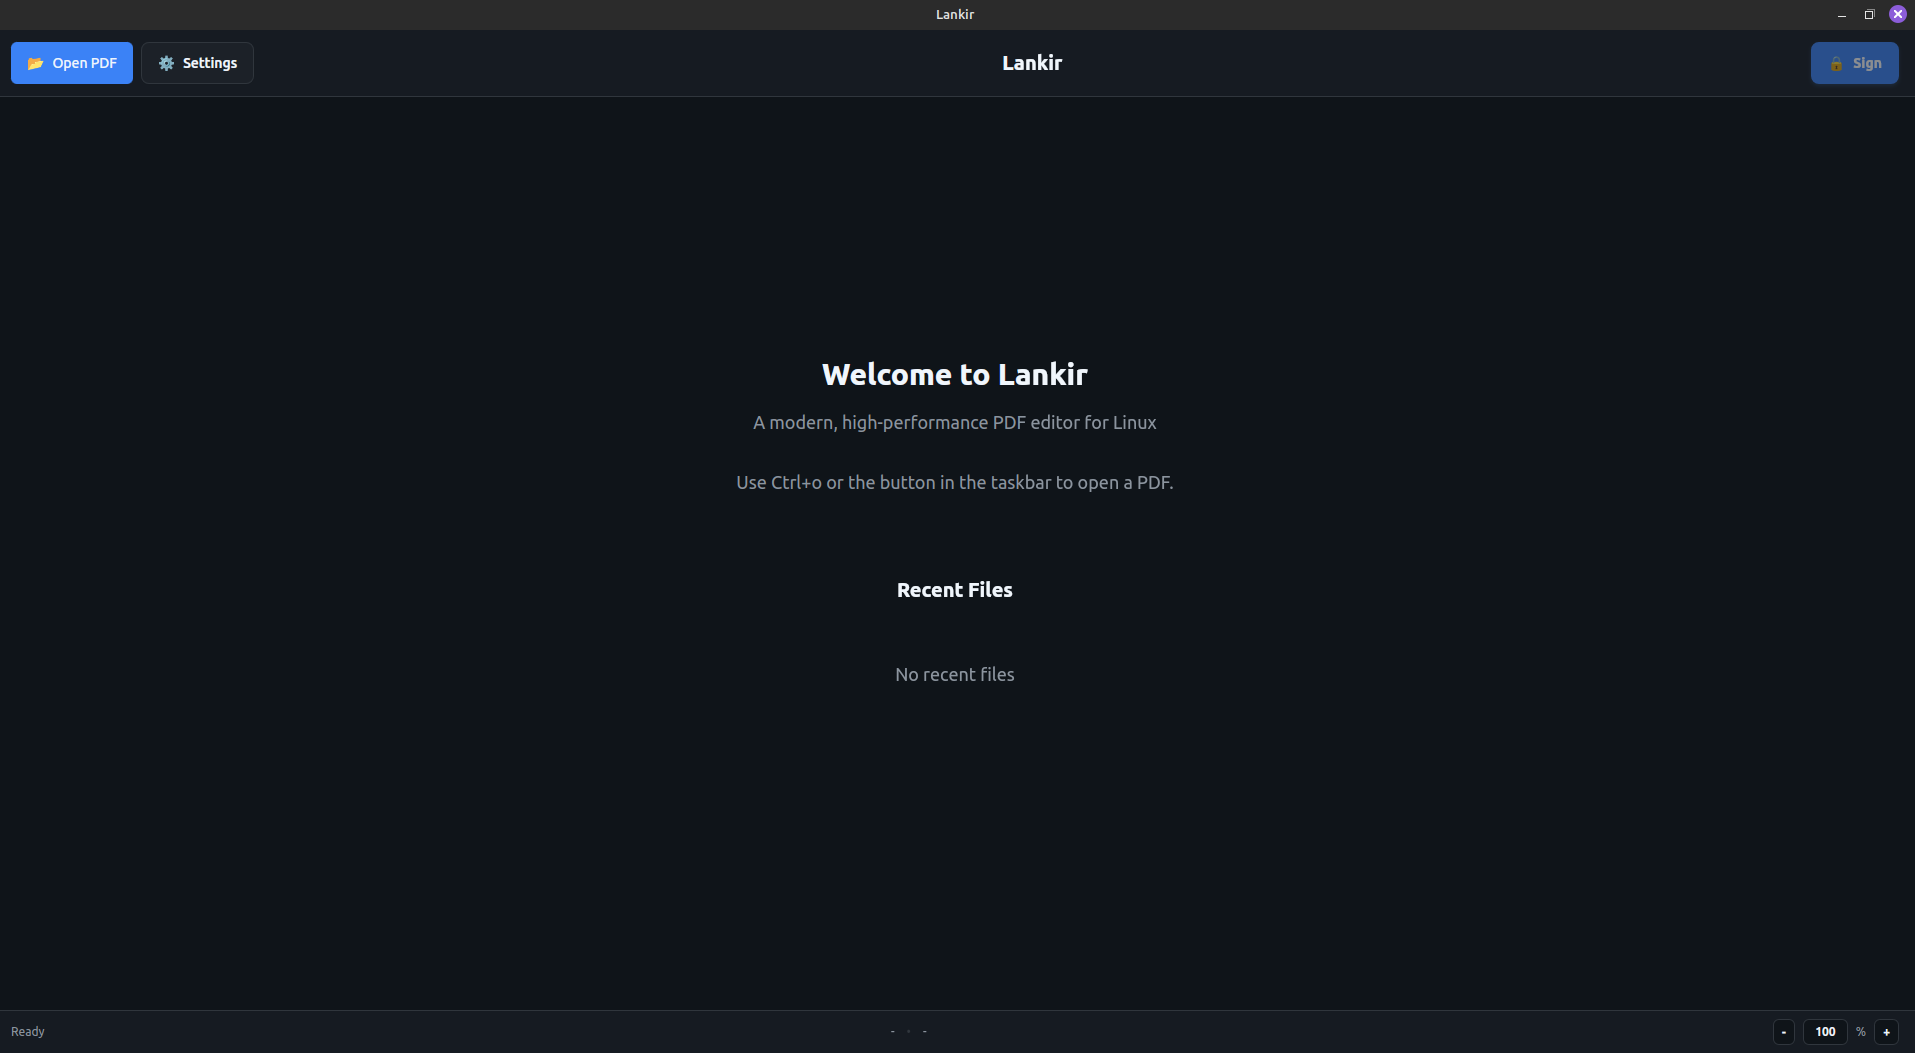
Lankir main window with welcome screen
CLI Mode
Pass any argument to use CLI mode:
lankir pdf info document.pdf
Opening a PDF
Via GUI
Click File → Open or press
Ctrl+OSelect a PDF file from the file browser
The PDF opens in the main viewer
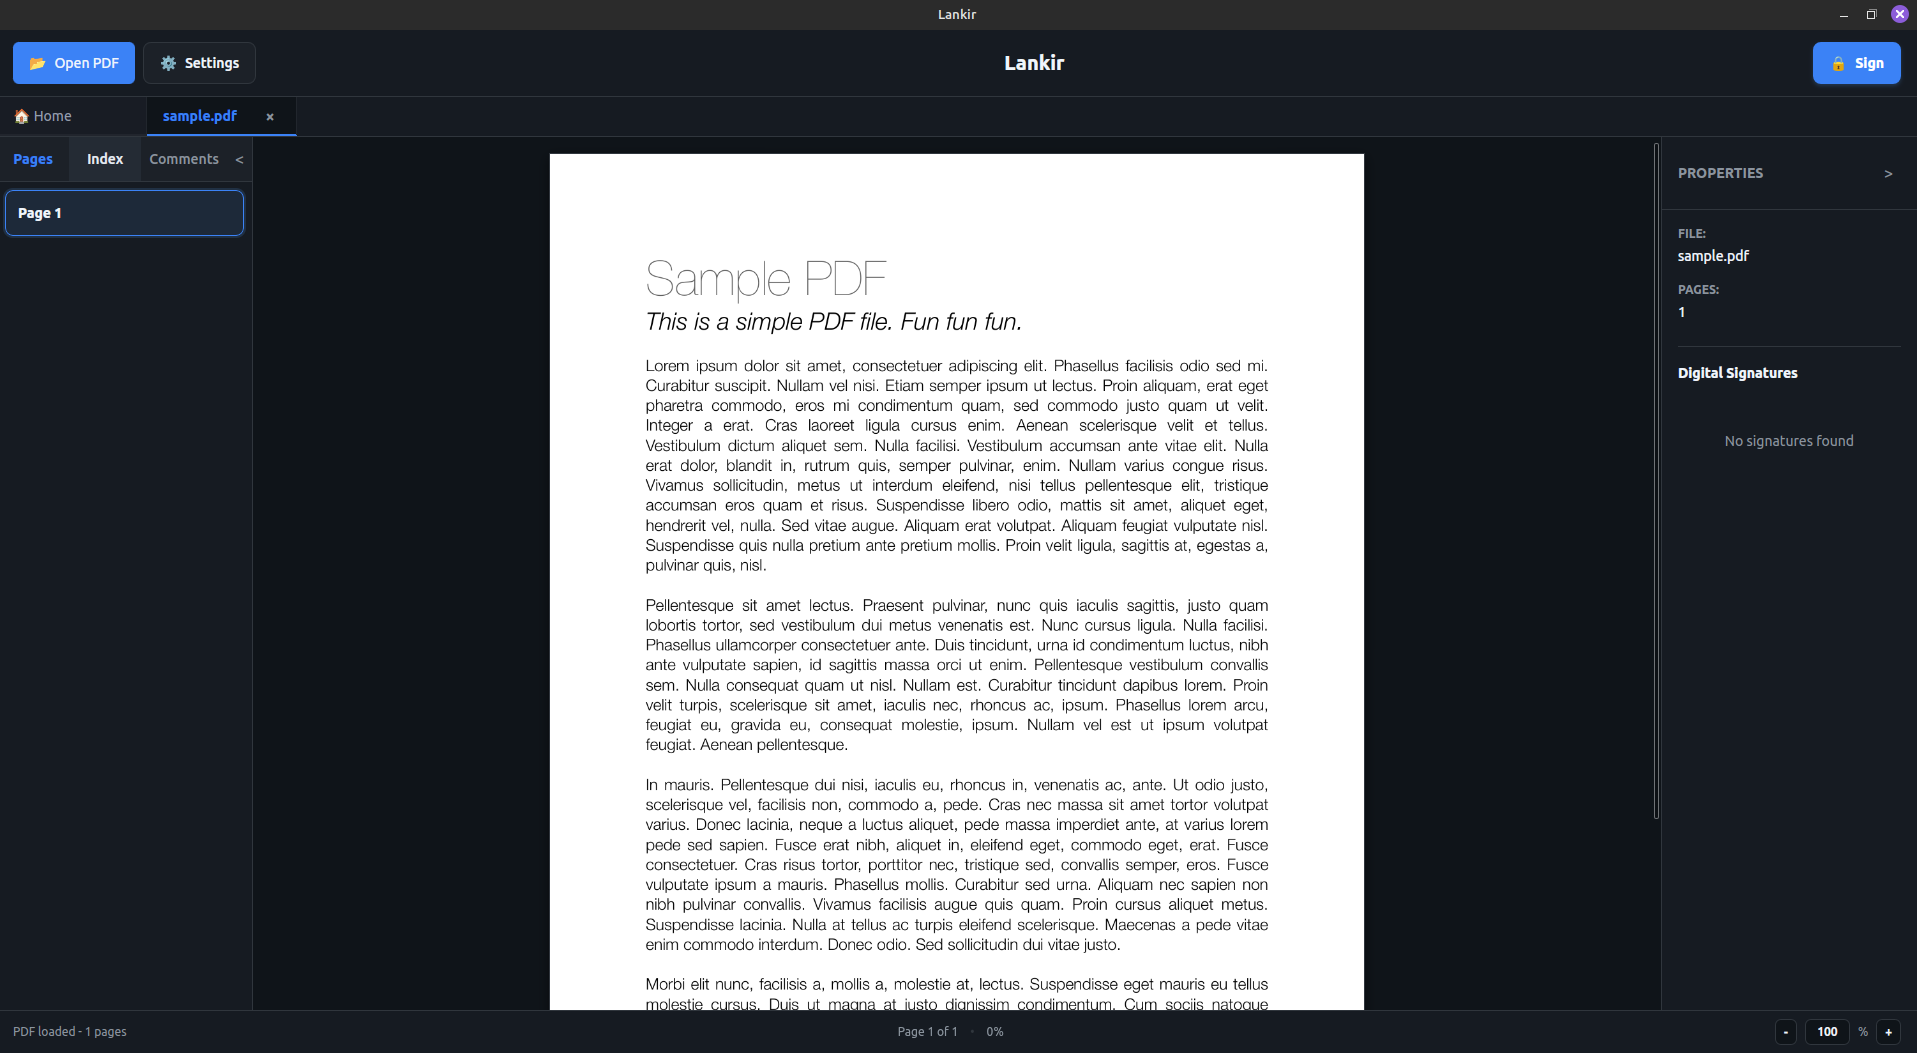
PDF document displayed with thumbnail sidebar
Via CLI
# View PDF information
lankir pdf info document.pdf

# Render a specific page
lankir pdf render document.pdf --page 1 --output page1.png
Via Drag & Drop
Drag a PDF file from your file manager and drop it on the Lankir window.
Signing Your First PDF
Prerequisites
You need a digital certificate from one of these sources:
PKCS#12 file (
.p12or.pfx)Hardware token (smart card, USB token)
Browser certificate store (Firefox/Chrome NSS database)
Quick Sign (GUI)
Open a PDF document
Click Sign in the toolbar
Select a certificate from the dropdown
Enter PIN if required
Click Sign Document
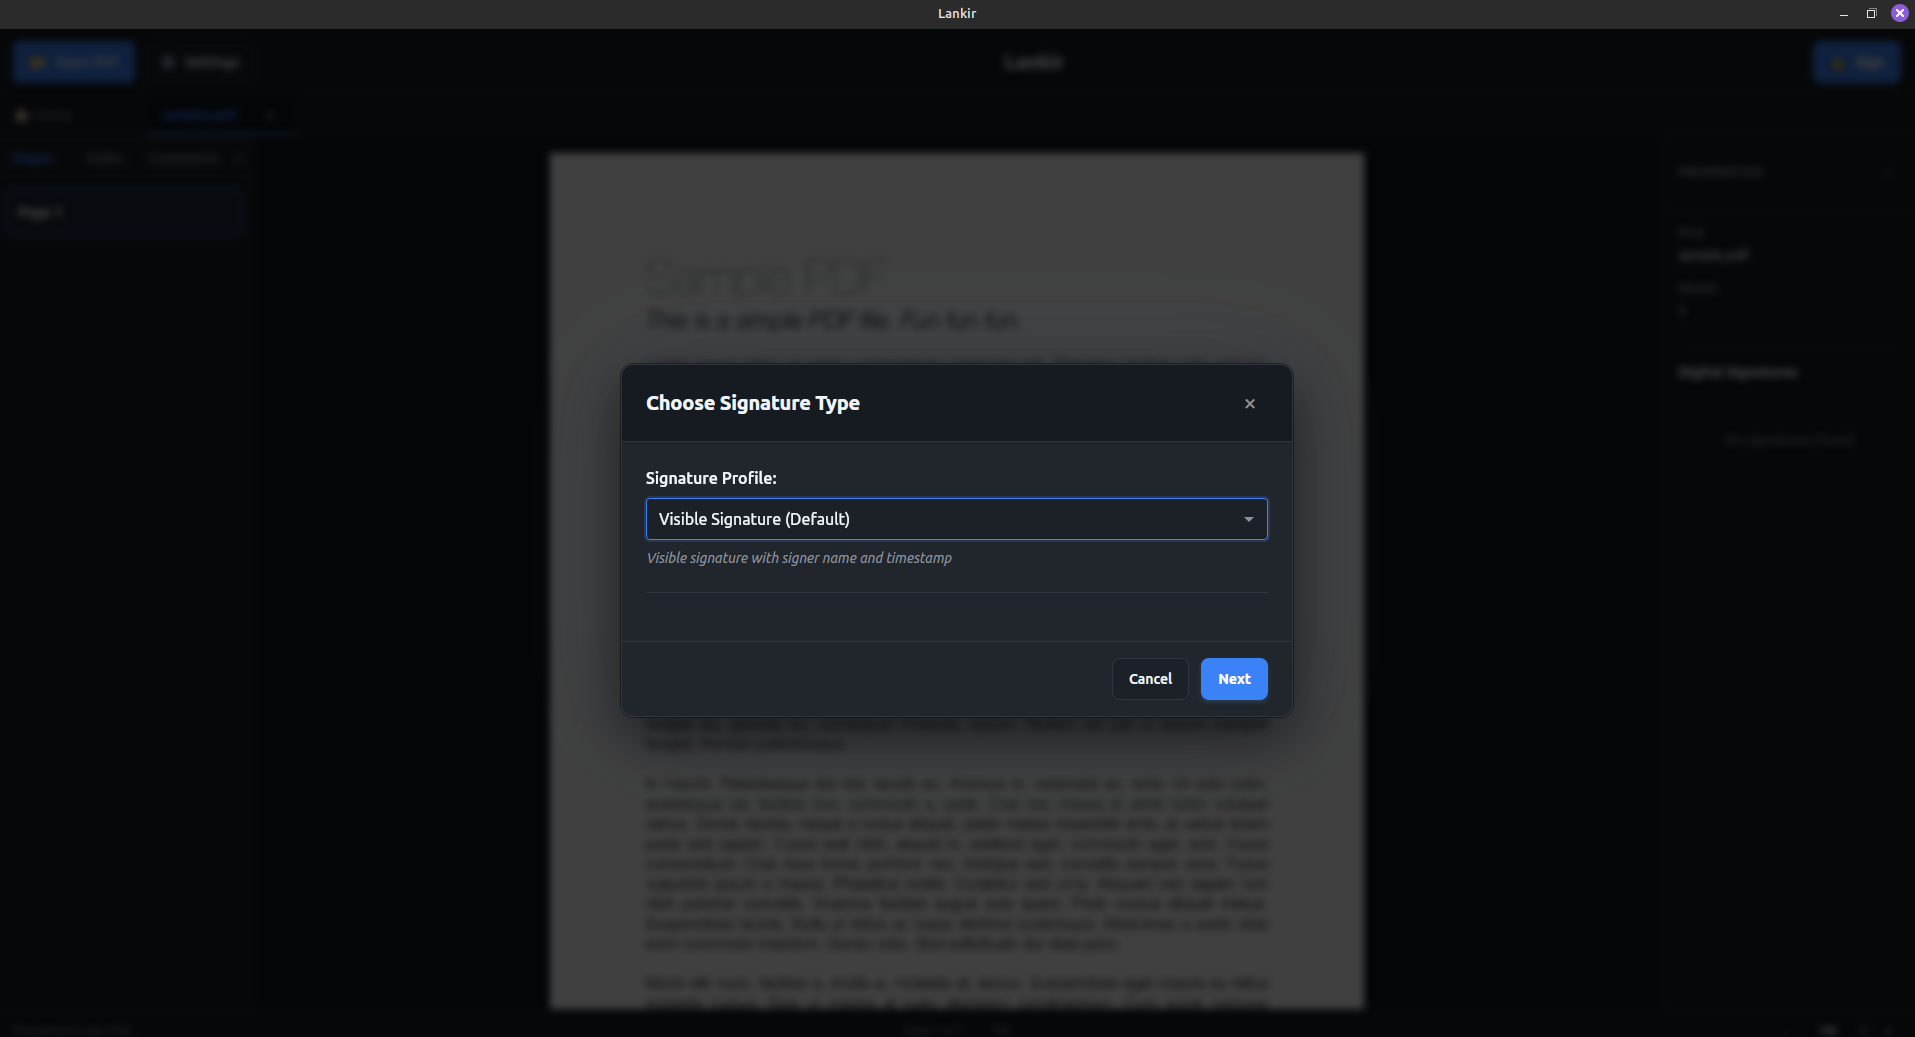
Signature dialog showing certificate selection and profile options
The signed PDF saves as original_signed.pdf.
Verify Signature
To verify an existing signature:
lankir sign verify signed_document.pdf
Or in the GUI, open the PDF and check the signature panel.
Viewing Certificate Information
List available certificates:
# CLI
lankir cert list

# Show only valid certificates
lankir cert list --valid-only
In the GUI, go to Settings → Certificates to browse all available certificates.
Configuration
Lankir stores settings in ~/.config/lankir/config.json.
Common Settings
# View current config
lankir config get

# Change theme
lankir config set theme dark

# Set default zoom
lankir config set defaultZoom 125
Next Steps
Now that you have the basics:
Certificate Management - Set up certificates
Signing PDFs - Advanced signing options
Signature Profiles - Customize appearance
CLI Reference - Automation and scripting